|
The following instructions are specifically about how to change the
gearbox oil of any Peugeot or Citroën with a so-called BE4/5 gearbox, but
generally all separately-fitted gearboxes from any type or brand can be
refilled using the same procedure. Keep the manufacturer’s recommended oil
type in mind though, since that’s not always the same.
This is useful for people who want to go against the manufacturer’s
recommendation of never changing it at all. You can ask your dealer to do
it for you, but it’s not that hard at all to do yourself.
First something about gearbox oil, an extract from an
article I’ve written before, called: "How to treat the
Gearbox" (You'll need to be a subscriber, though).
Do change your gearbox oil regularly.
Very few manufacturers recommend an oil change for their gearboxes
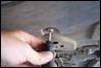
at all; they simply state that its oil will last for the car’s lifetime.
Why this is I have no idea, because there’s always synchromesh wear,
where the debris eats into the gasket seals; water can come in through its
ventilation on the top, and there’s always the leakage along the drive
axle’s seals and between gearbox half shells.
Leakage is the biggest gearbox killer, since there are only a few
litres in there to begin with, and a leak of only a few drops a day over
several years will be enough to prevent the gearbox from continuing to
function properly.
So, check the level -- or have it checked -- at every engine oil
change. Don’t listen to the ‘sealed for life’ guarantees from the
manufacturers, the professionals or people who think they know.
A gearbox oil change (which normally costs max $AU160 / €100 if done
at the dealer) should be done every 60-100,000 km. Keep at least to the
advised grade stated in the manual, but a known brand full-synthetic is
better. Stick to the normal oil types, not the “friction reducing” crap.
Same goes for add-ons: just don’t!
The PTFE used in (for example) Slick50 causes the metal debris to
continuously float around in the oil instead of getting caught by the
magnet fitted in every gearbox (which is either on the end of the drain
plug, or fitted in the gearbox itself). Plus a worn box cannot be fixed by
add-ons. It simply needs an overhaul.
(Check for “Slick50”
and “law-suit” in Google if you don’t believe me)
Click on the images to enlarge.
|
|
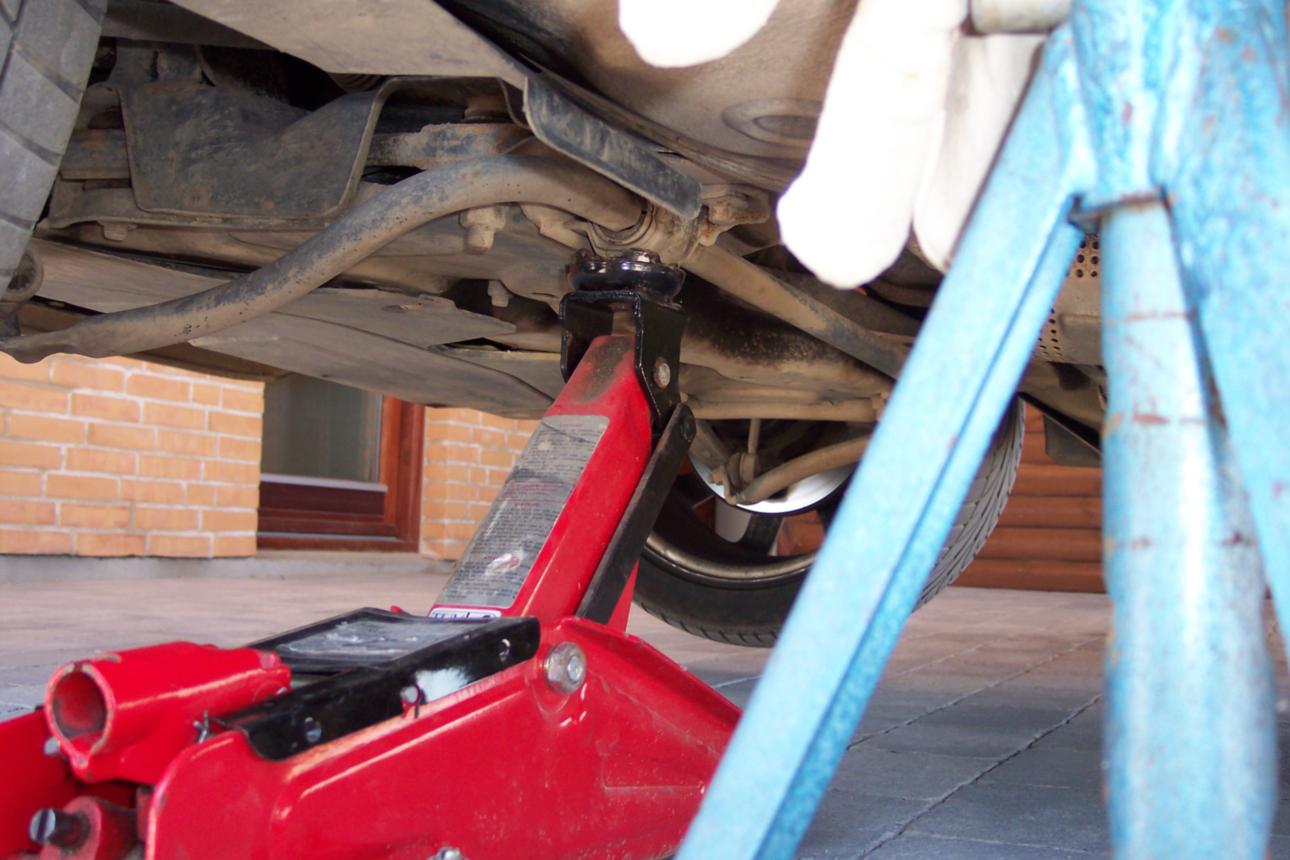
1. Take a
drive to warm up the gearbox oil to 60-70 degrees centigrade. This will
let the oil drain out faster.
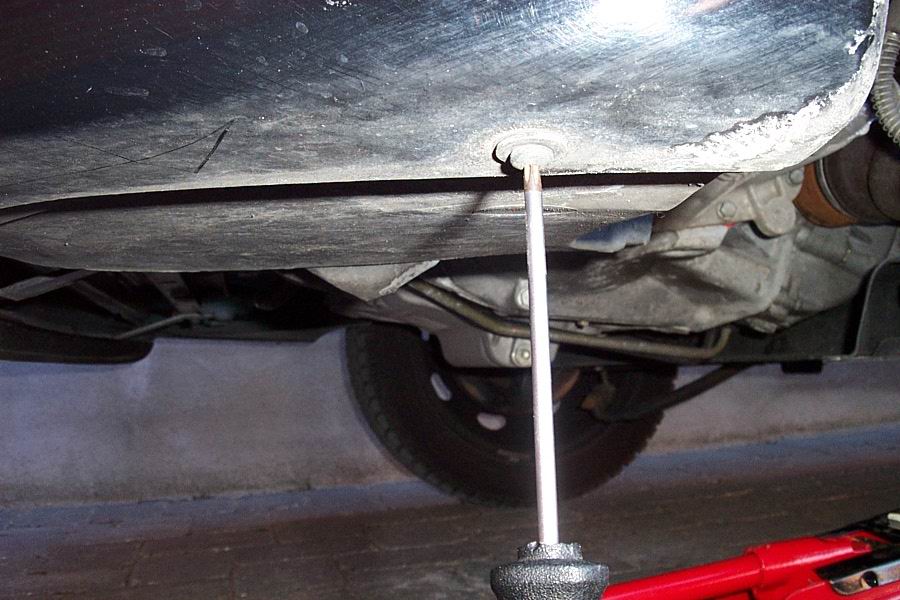
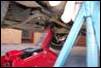
While the
car’s still standing on its feet, loosen the left front wheel bolts one
turn. Jack the car up at the sway-bar clamp…
|
|
|
|
|
|
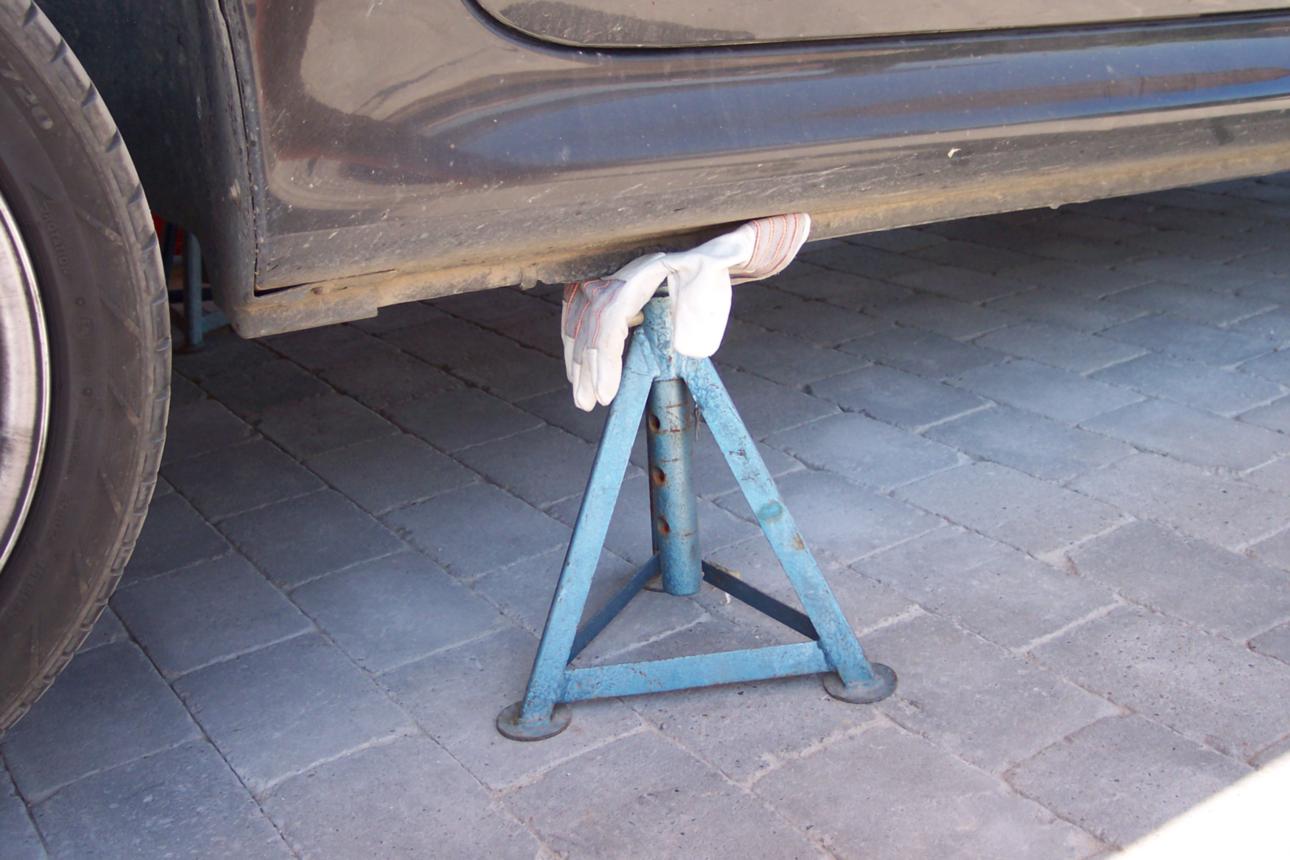
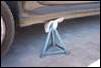
2. …and put
stands (at both sides) under the “official” jack positions. Preferably
put something between the stand and the car to avoid damage. Remove the
jack.
|
|
|
|
|
|
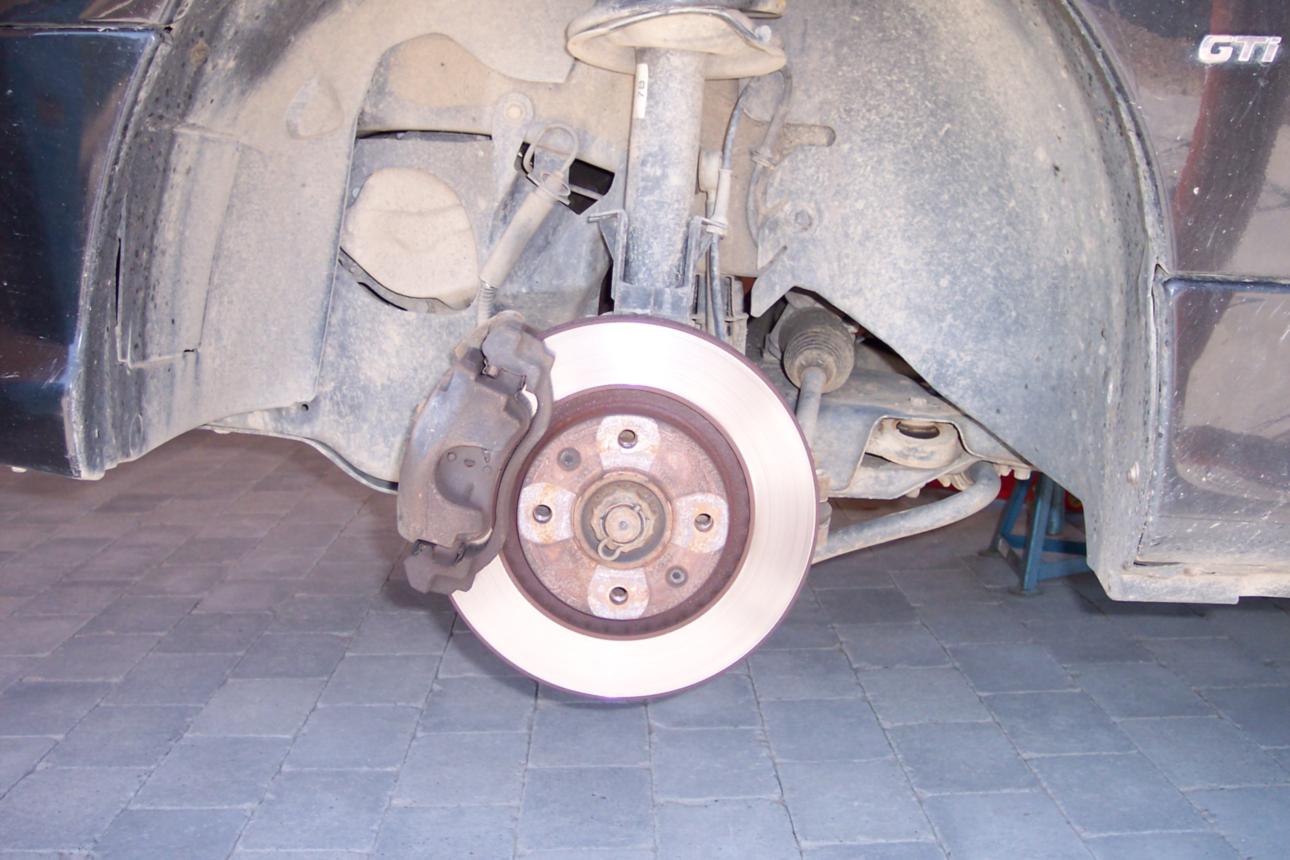
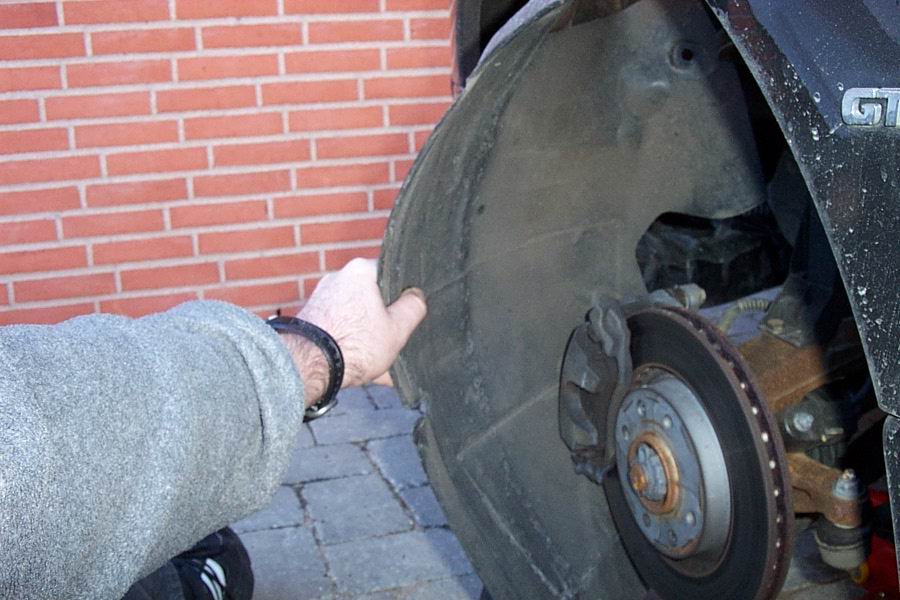
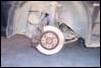
3. Remove the
LHS wheel.
|
|
|
|
|
|
4. If the
car’s not fitted with a
plastic “sump guard” (a.k.a. noise cover) proceed to point 11. Otherwise,
remove the sump guard by quarter-turning the 8 bolts out, unclip the
guard from the front transverse beam and shove it away under the car.
|
|
|
|
|

|
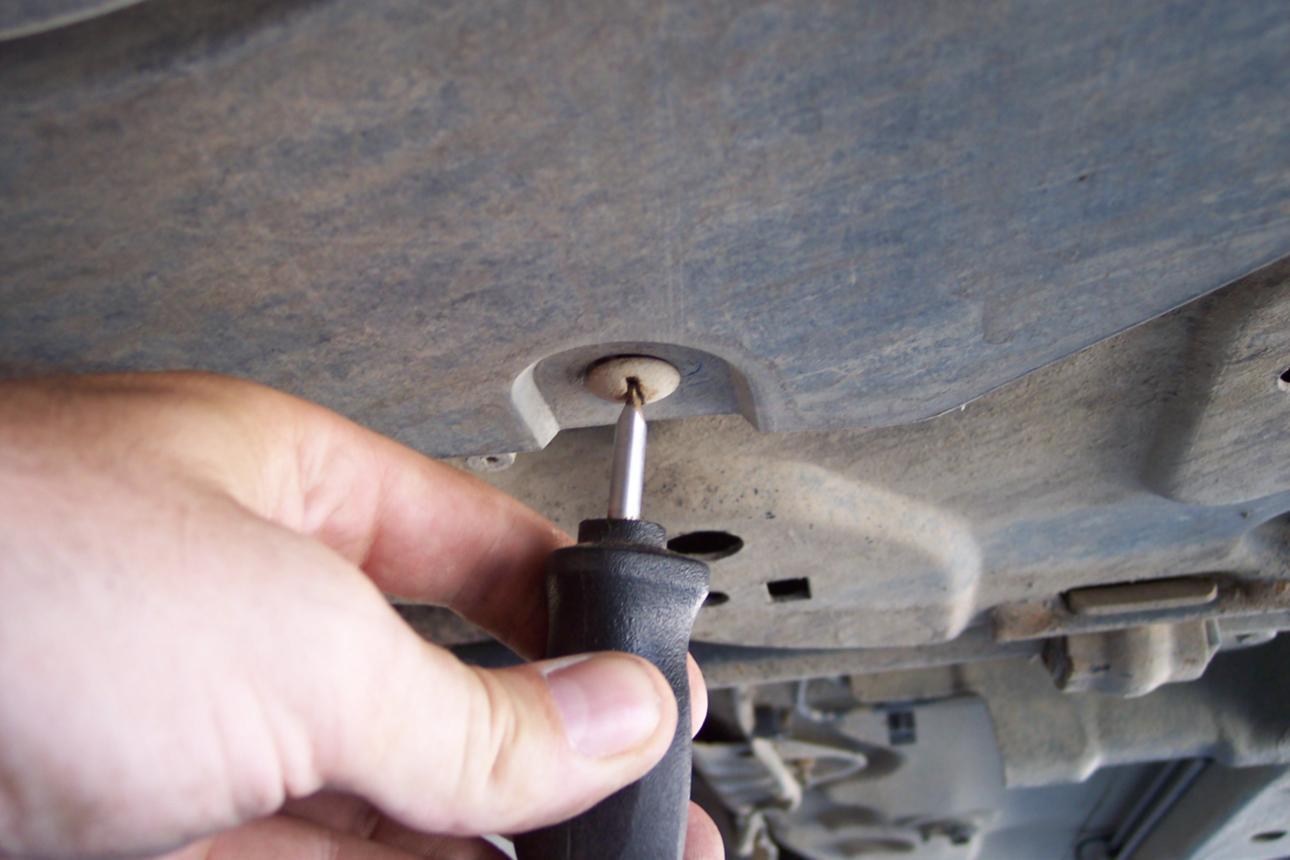
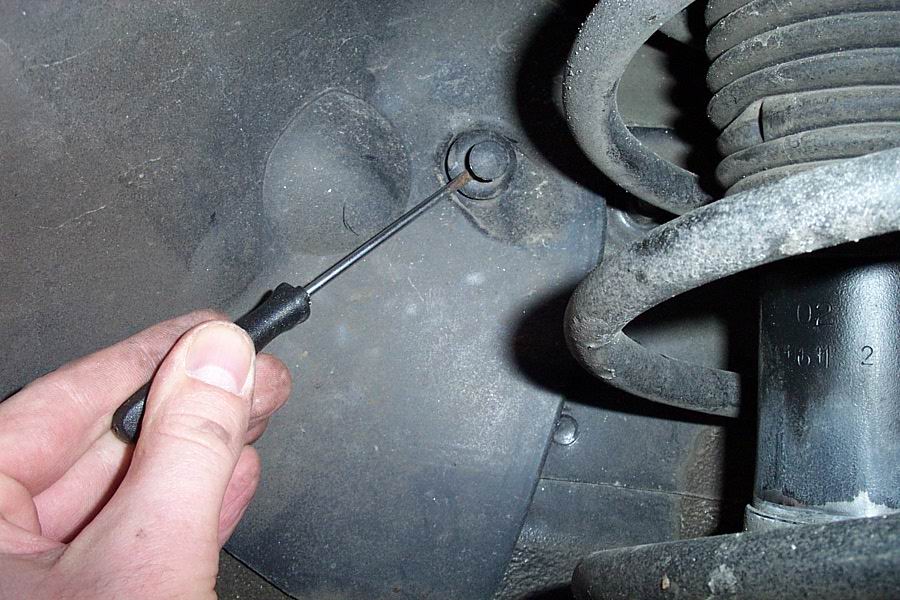
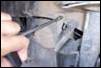
5. Remove the front inner wheel guard:
Near the shock absorber there are two mushroom-shaped clips. They are
two-pieced and they can be released by pulling out the centrepiece. The
photo shows number one
|
|
|
|
|

|
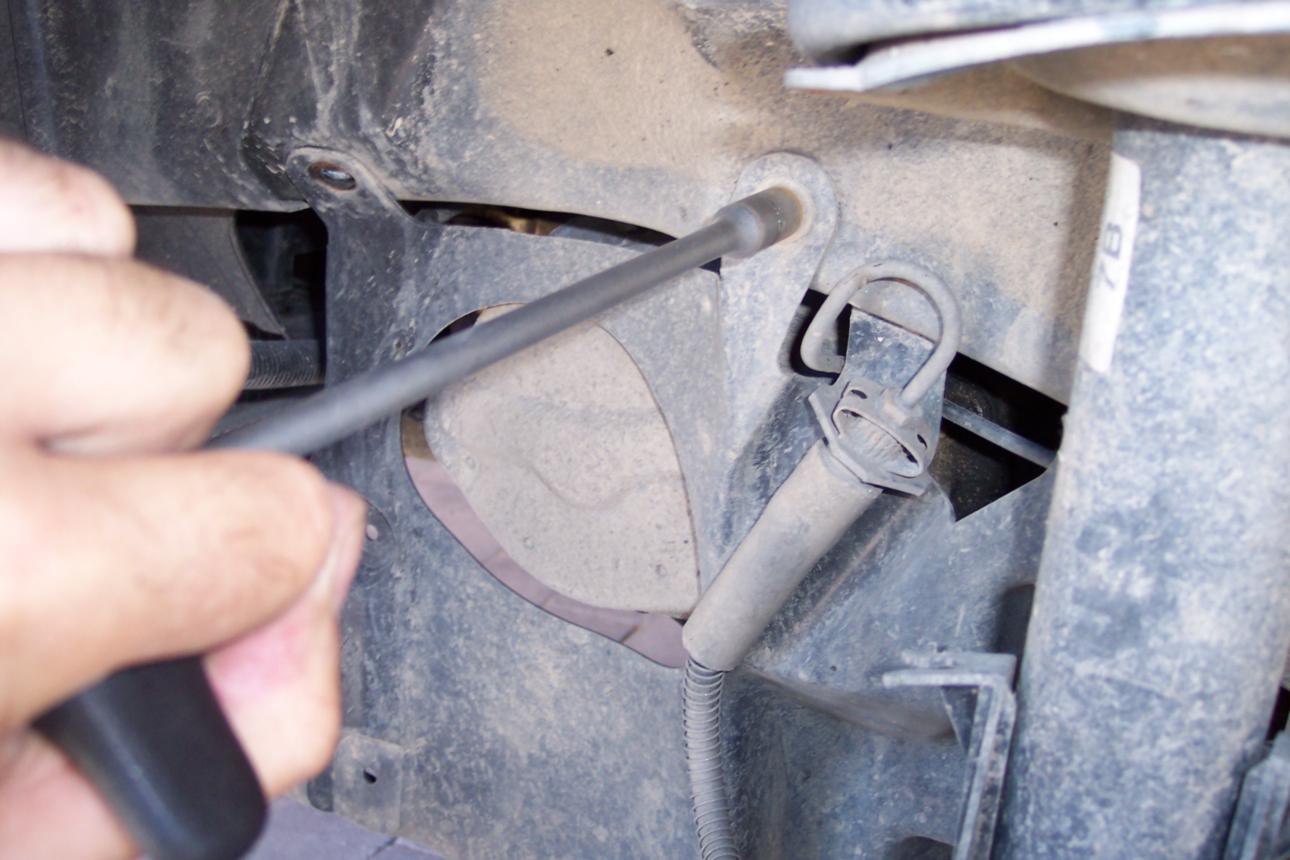
6. …and this
is number two: on your side of the shock absorber.
|
|
|
|
|

|
7. The third
mounting point is under the bumper on the corner…
|
|
|
|
|

|
8. …and the
fourth one is at the corner of the front spoiler.
|
|
|
|
|

|
9. Take out
the front half of the inner wing and be careful of your paint job
while doing this!
|
|
|
|
|
|
10. Now you
have access to remove the sump guard’s LHS lining. It’s fixed with two M6
bolts.
|
|
|
|
|
|
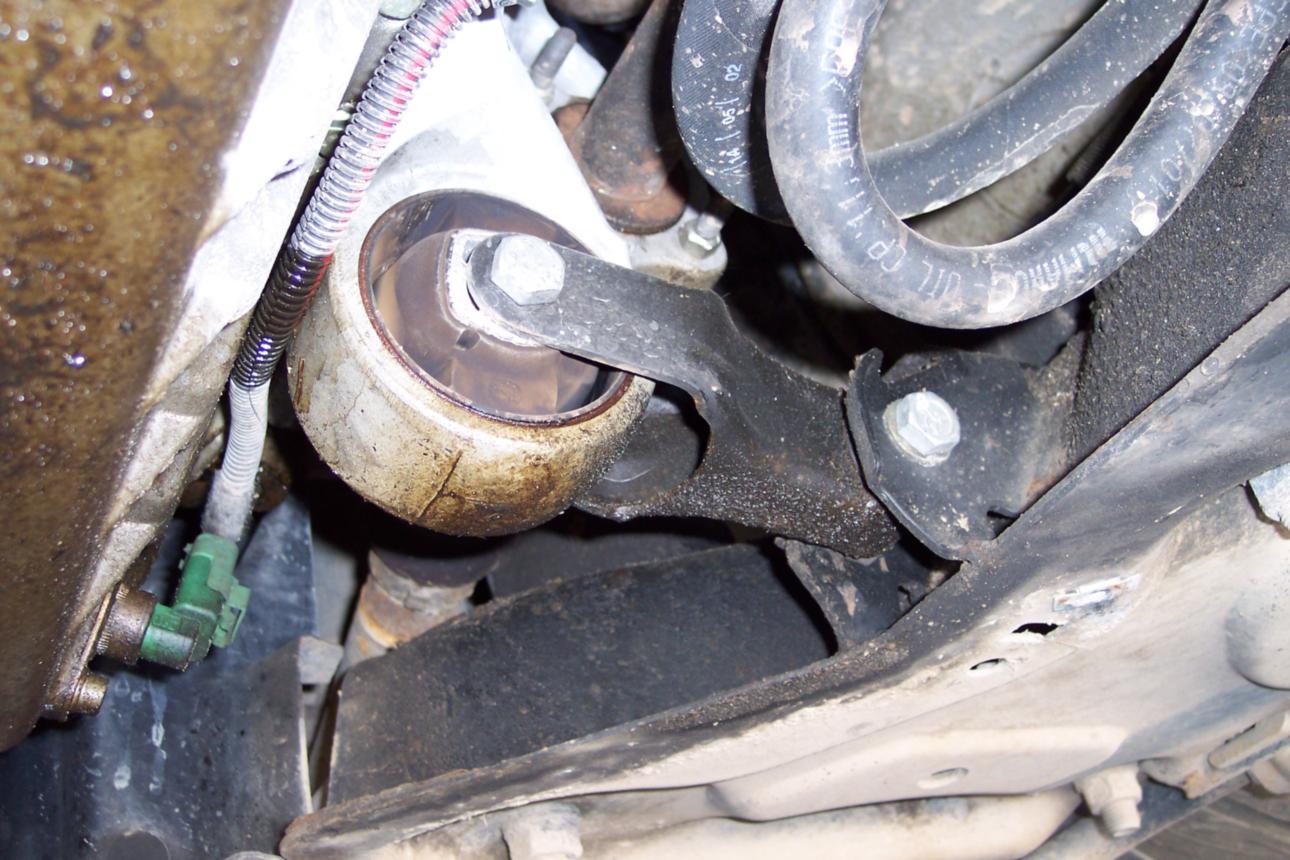
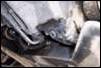
11. Note:
While you have access under the car: check the rubber of the
torque/reaction arm. If the rubber’s torn, you need a new rubber. In
order to replace that, the right drive axle needs to be taken out and you
need to renew the gearbox oil *again*. Fix it before you continue, if
necessary!
|
|
|
|
|
|
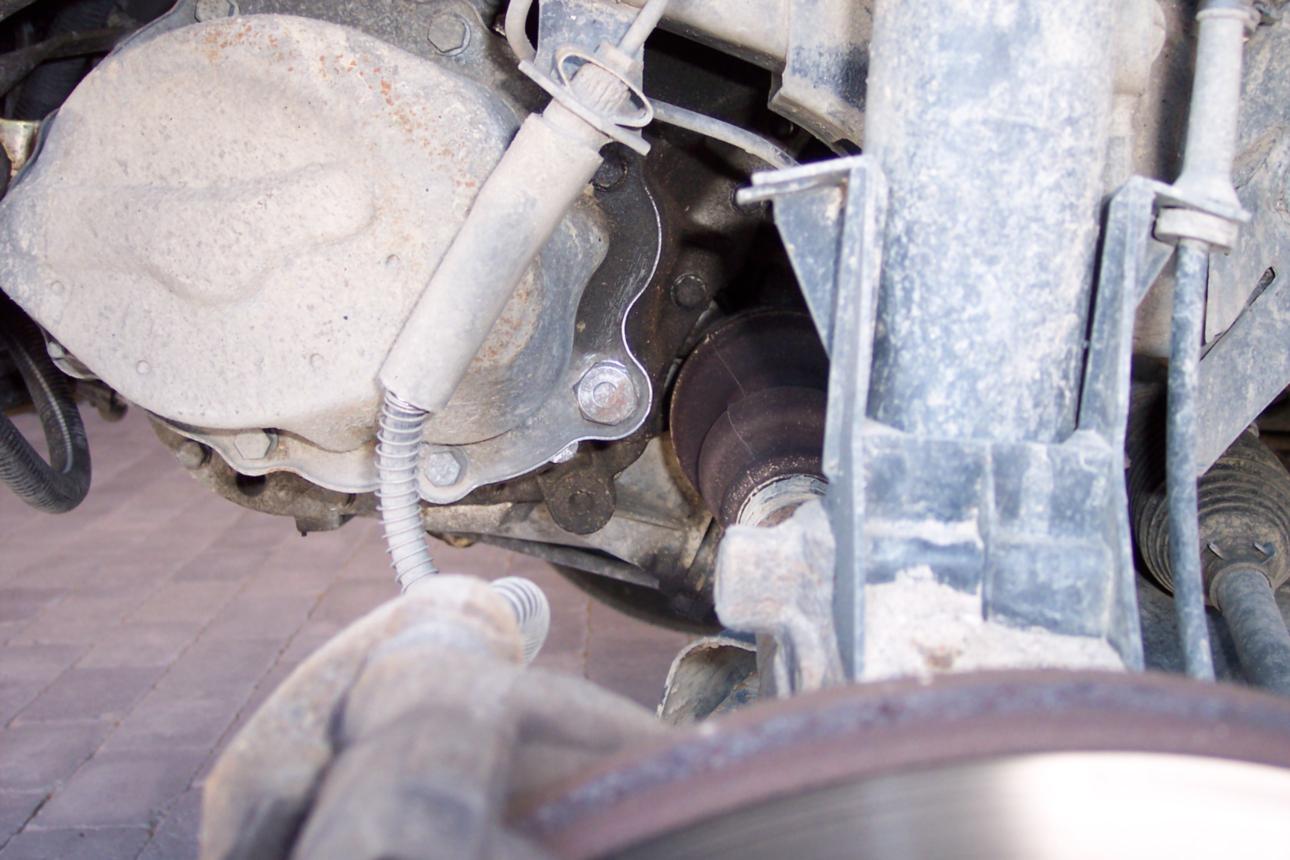
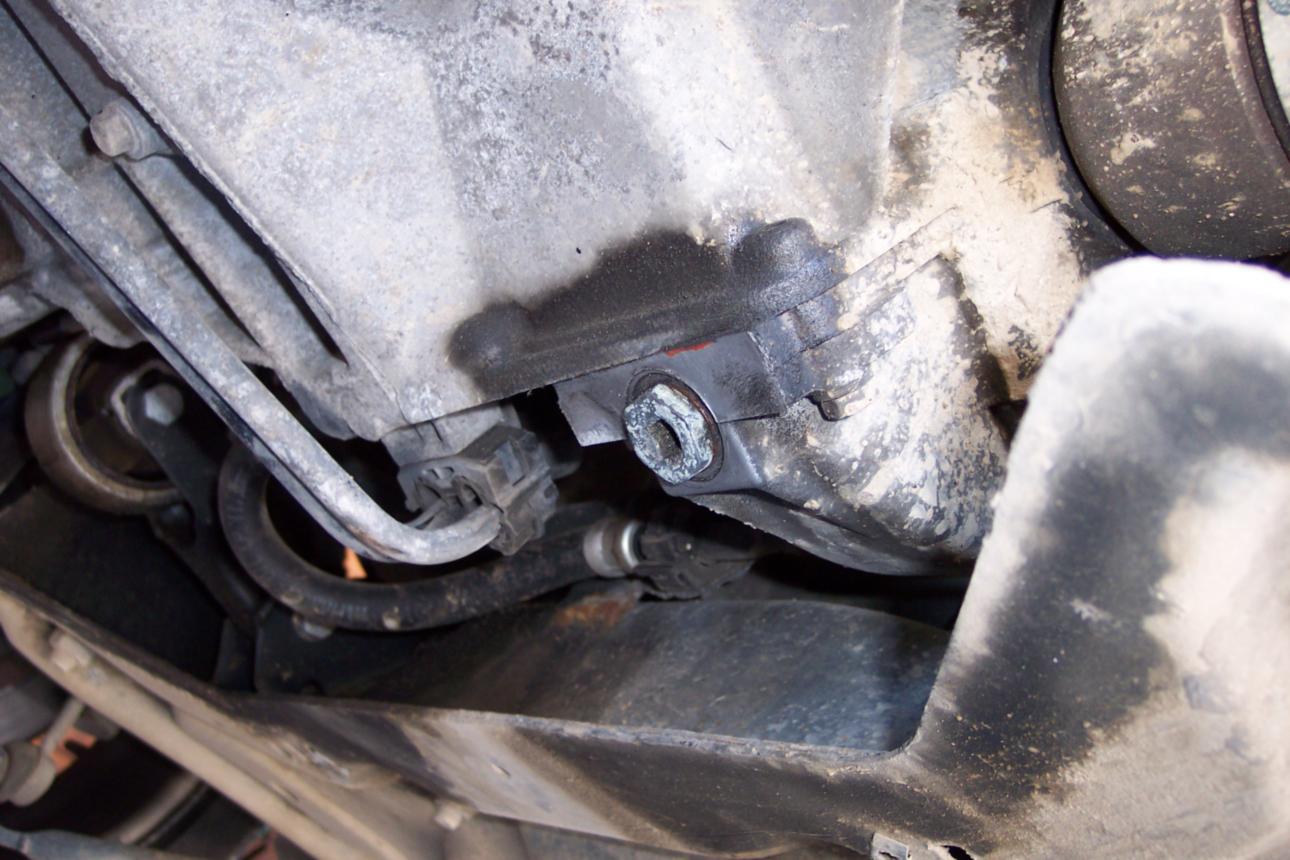
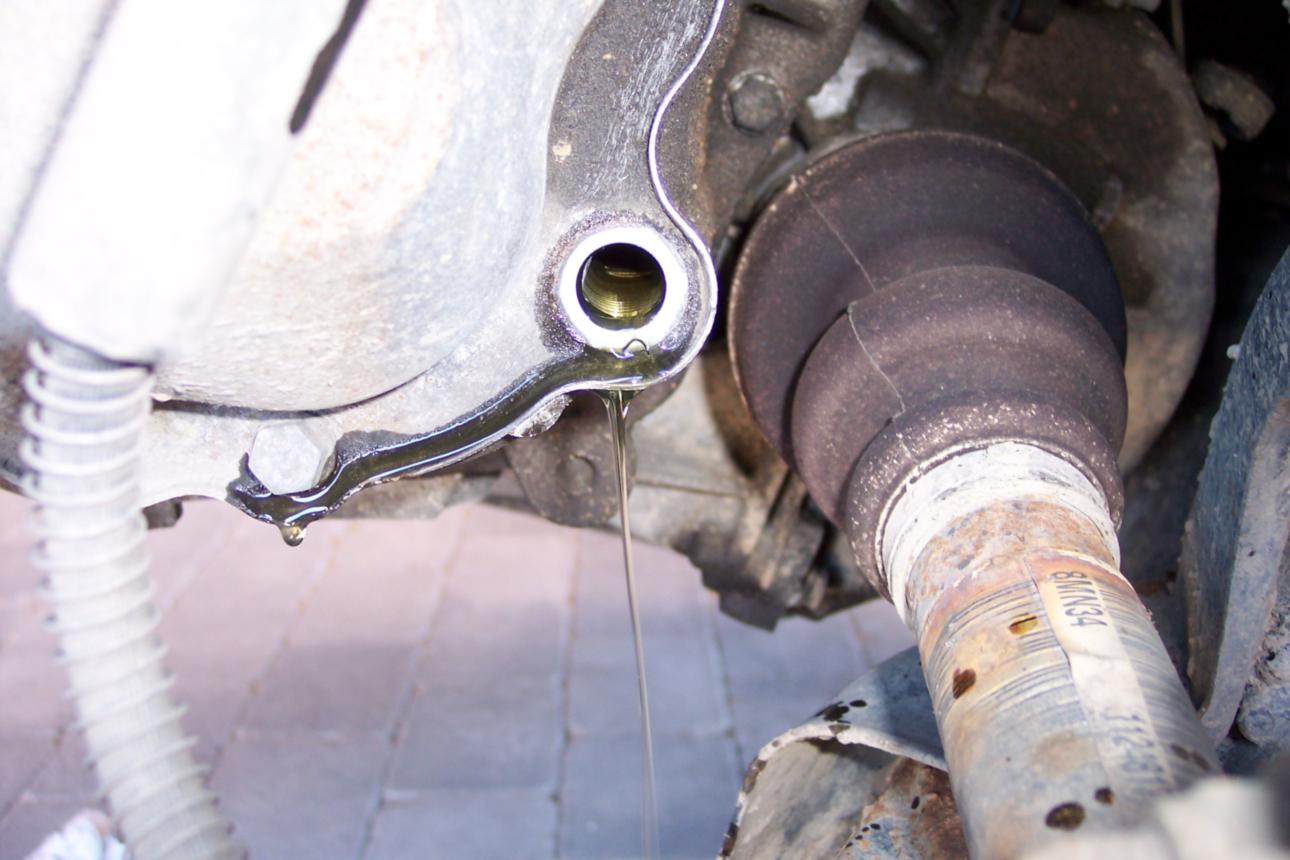
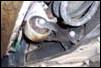
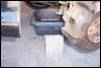
12. The plug
covering the filler/level hole is situated just in front of the left
drive axle (at dead centre in the middle of the picture).
|
|
|
|
|
|
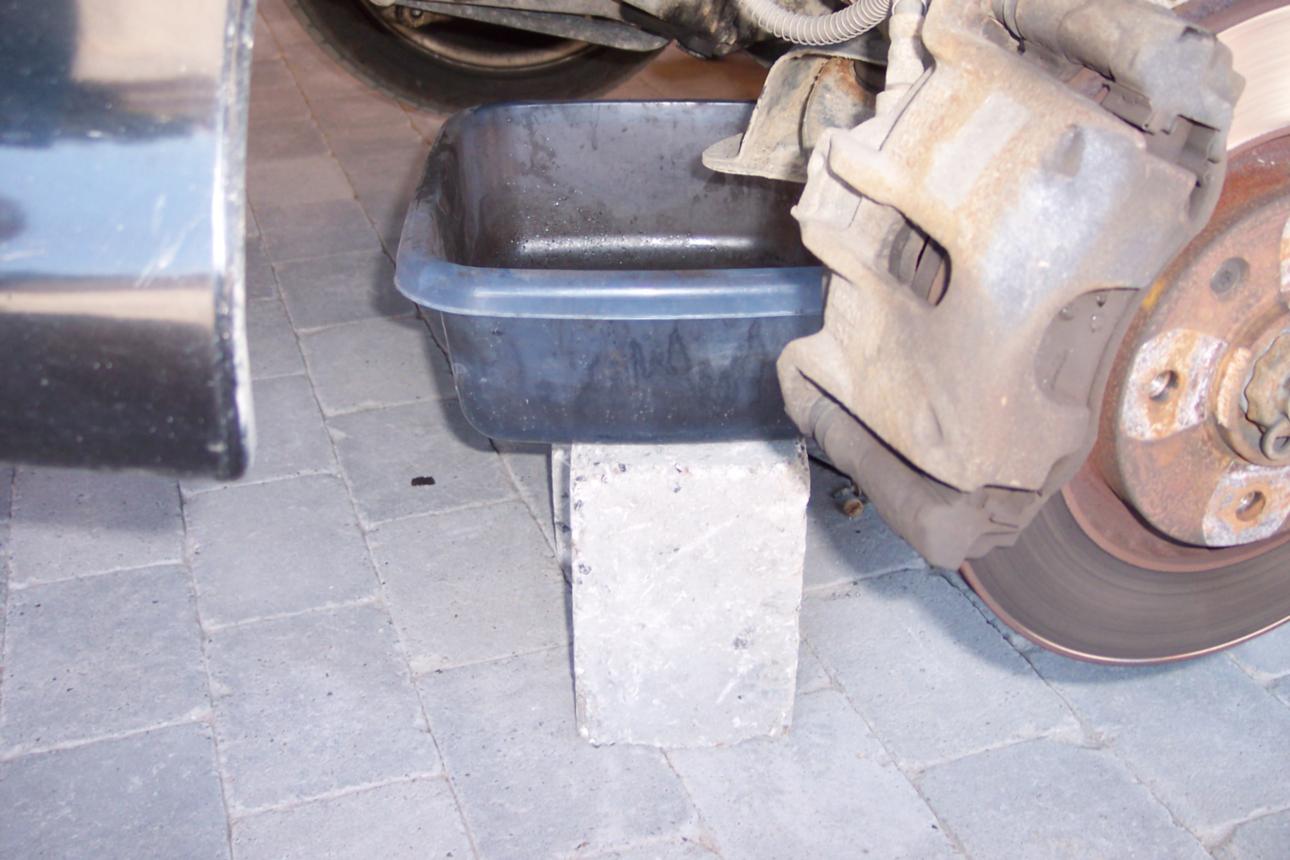
13. Put a
catch-tank or something that can contain at least 2L under the gearbox.
If you want to avoid spillage; raise the catch-tank by whatever means you
have available: gearbox oil has a tendency to fly around when it’s a bit
windy!
|
|
|
|
|
|
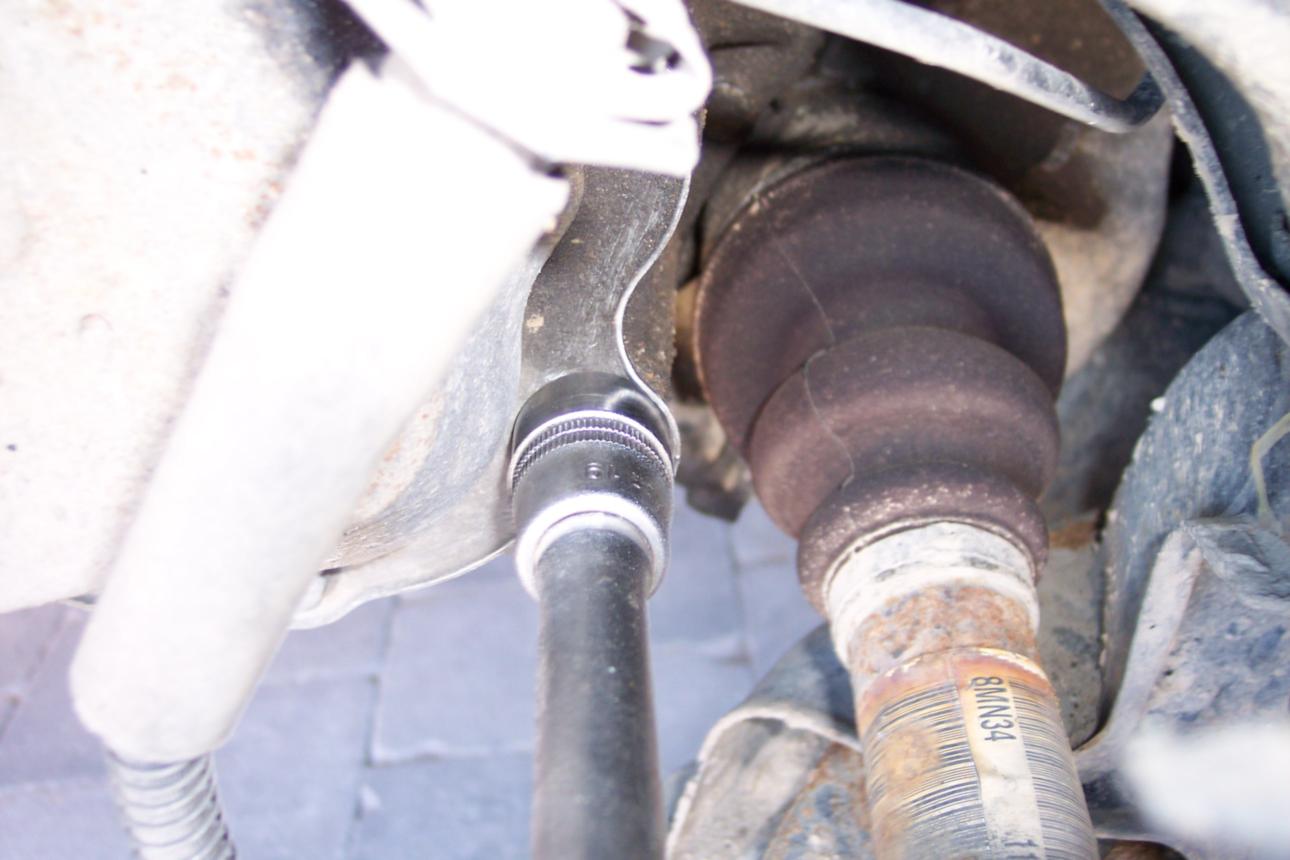
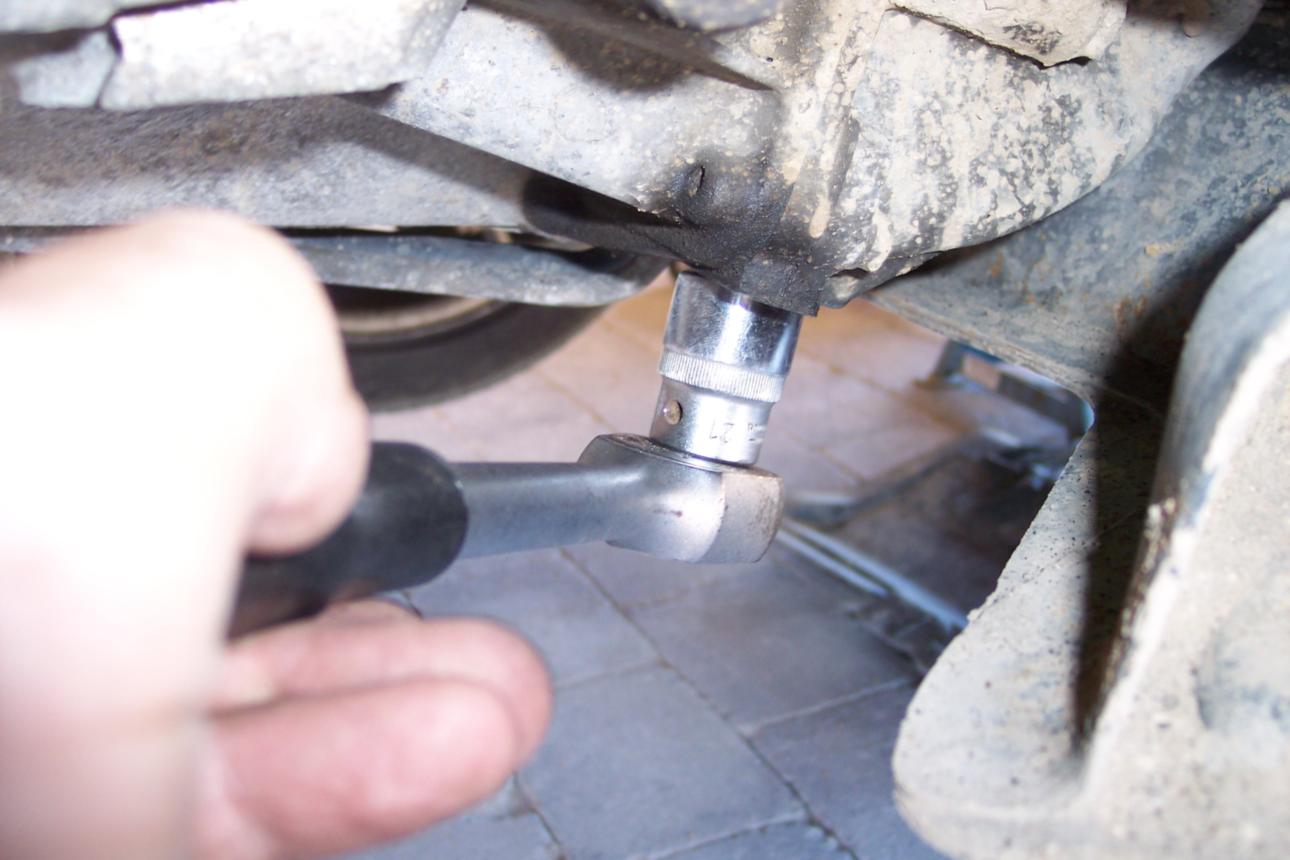
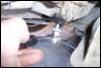
14. Clean the
surroundings and remove the plug with a 19mm socket, including the alloy
gasket.
|
|
|
|
|
|
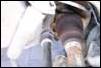
15. The
gearbox’s drain plug is situated at the bottom of the half-shell of the
differential housing.
|
|
|
|
|
|
1. Clean the
surroundings and remove the drain plug with a special drain plug square
8mm key or a 21mm socket. Depending on the oil’s temperature; be careful
not to scald your fingers while removing the plug! Take a long break,
while the oil drains… Refit the bottom plug with a new (!) gasket ring and fasten it to “hand-tight plus 1/8th
turn”
|
|
|
|
|
|
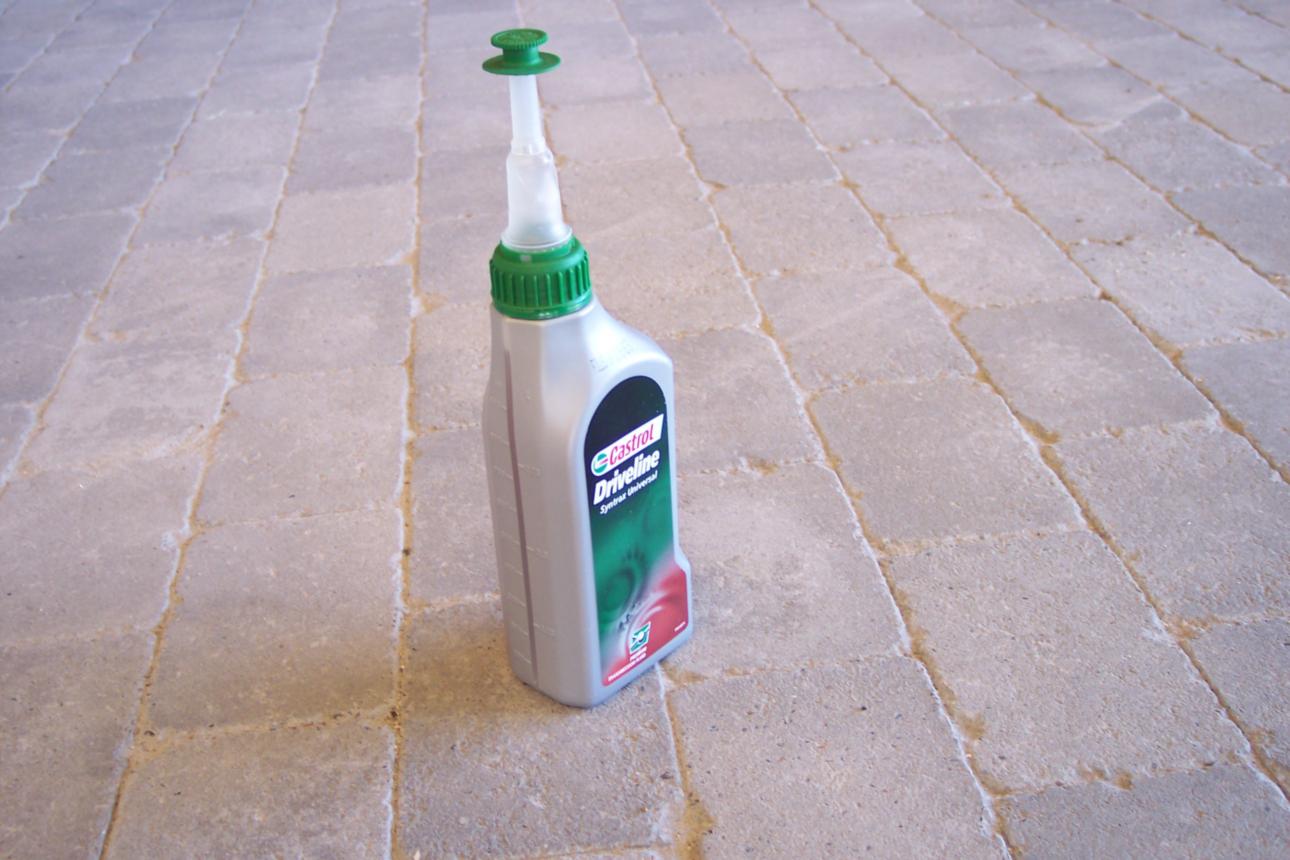
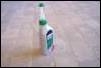
2. Buy
gearbox oil that comes in a bottle like this, with a retractable
extension pipe in the top. On very cold days, stand the two (1000cc)
bottles in hot water for a while -- warm oil flows faster.
|
|
|
|
|
|
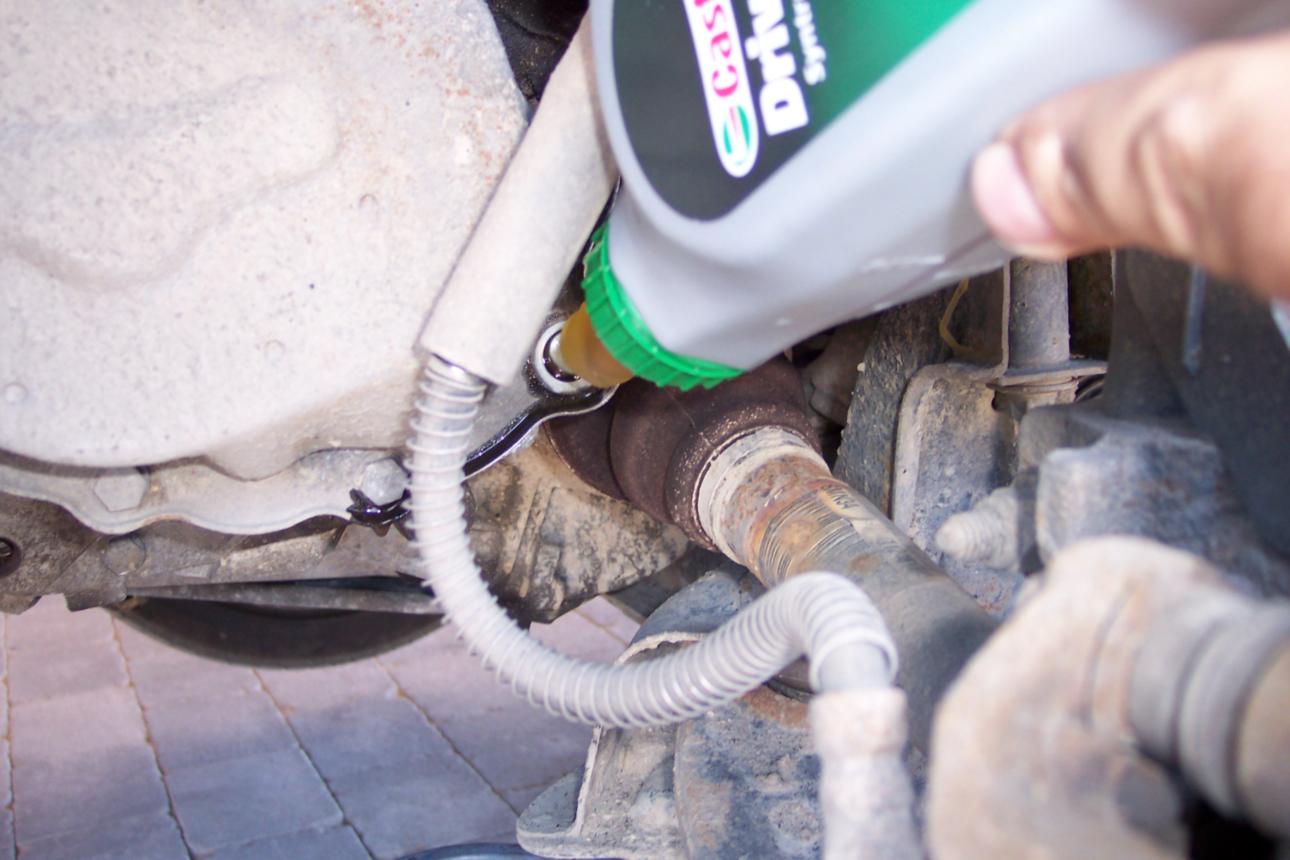
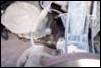
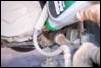
3. Stick the
first bottle’s nose in the filler hole and squeeze it empty into the
gearbox.
Do the
same with the second, but pull it out when there is still approx. 100cc
left in the bottle.
|
|
|
|
|

|
4. The excess
oil will eventually overflow from the filler hole, until it’s at the
right level. The right oil level is at about 1.9L.
Refit also
here the plug with a new (!)
gasket ring and fasten it to “hand-tight plus 1/8th turn”
|
|
|
|
|
|
5. Refit
everything else in reverse order and tighten the wheel bolts with 110Nm.
Remember
to check for leaks after a few drives.
|
|
|
Van
faq@206gti.net pvl@206gti.net
edited by bb
© 2006-08-07, The Peugeot 206 GTi page. http://206gti.net
|