|

|
·
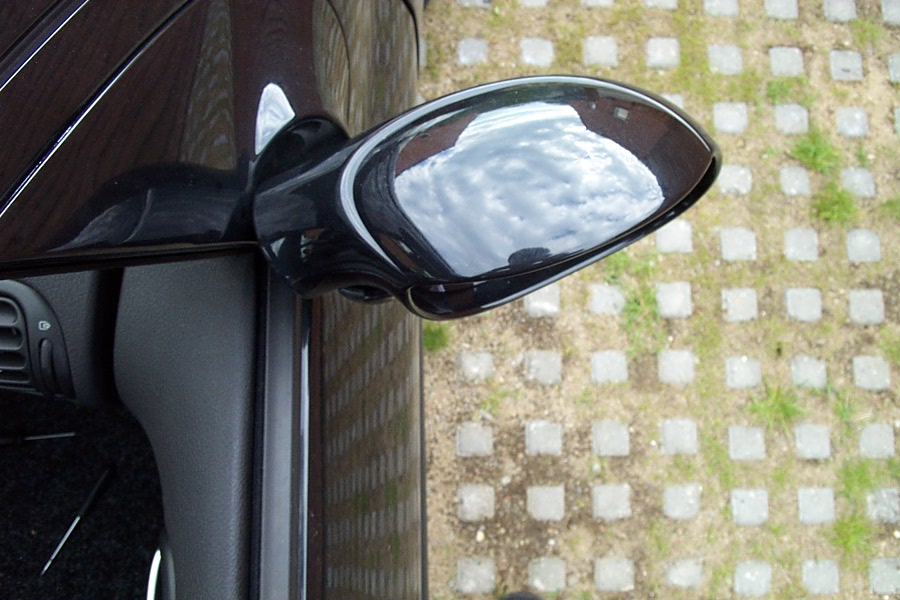
For you info; it is possible to pivot the mirror
on its foot; outwards…
|
|
|
|
|

|
·
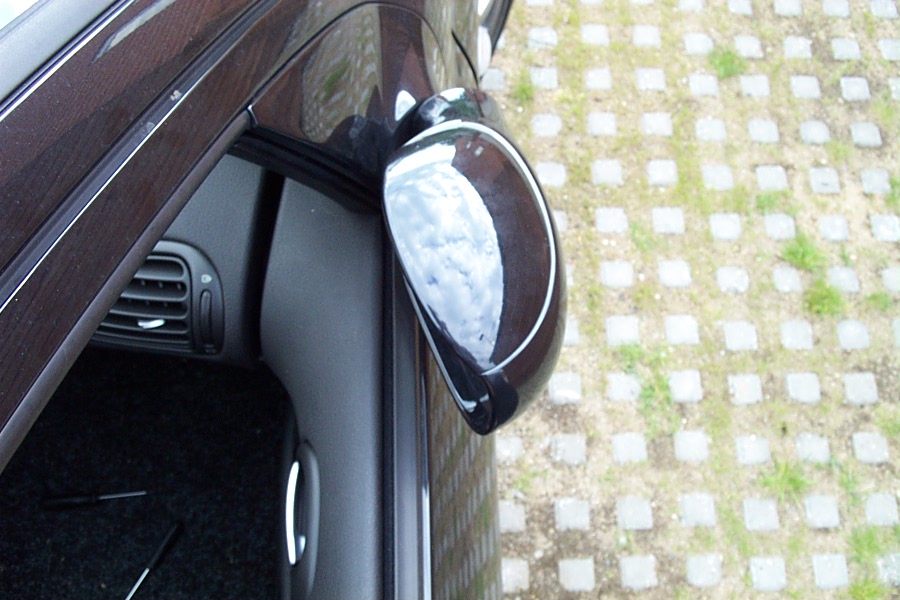
…and
inwards, to make it easier to work on if necessary.
|
|
|
|
|

|
1.
When you
carefully push the mirror at its most inward position and pull the mirror a
bit out of the shell, you can see two metal spring-wires sitting against
the back…
|
|
|
|
|

|
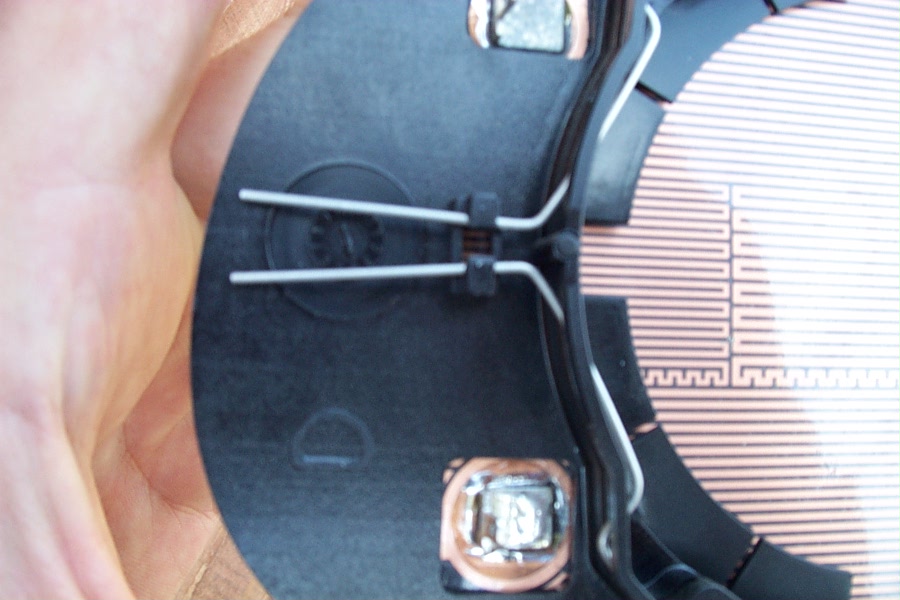
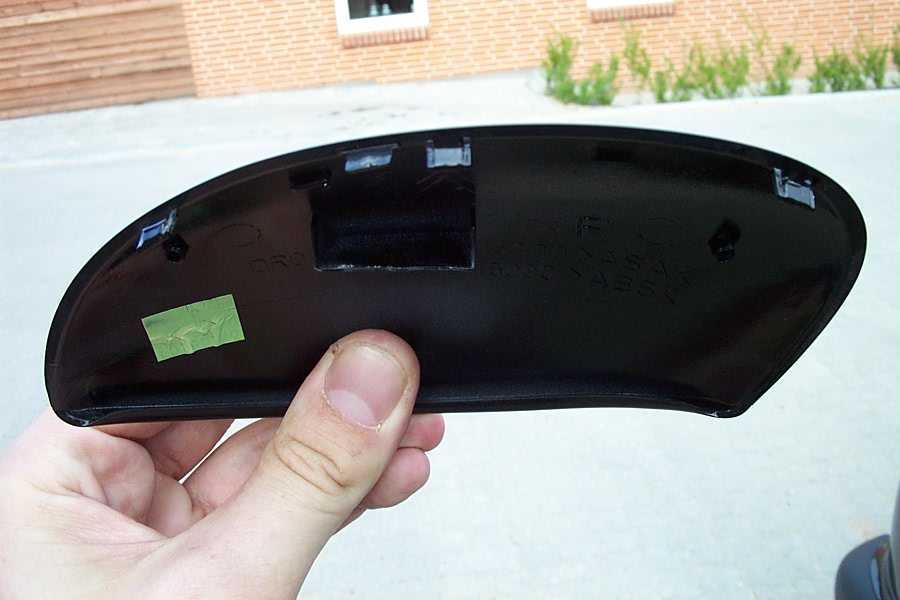
2.
…like you
can see on this already disassembled one.
The idea is now to release the spring-wires
from the hooks with a mini-screwdriver, until they both are released…
|
|
|
|
|

|
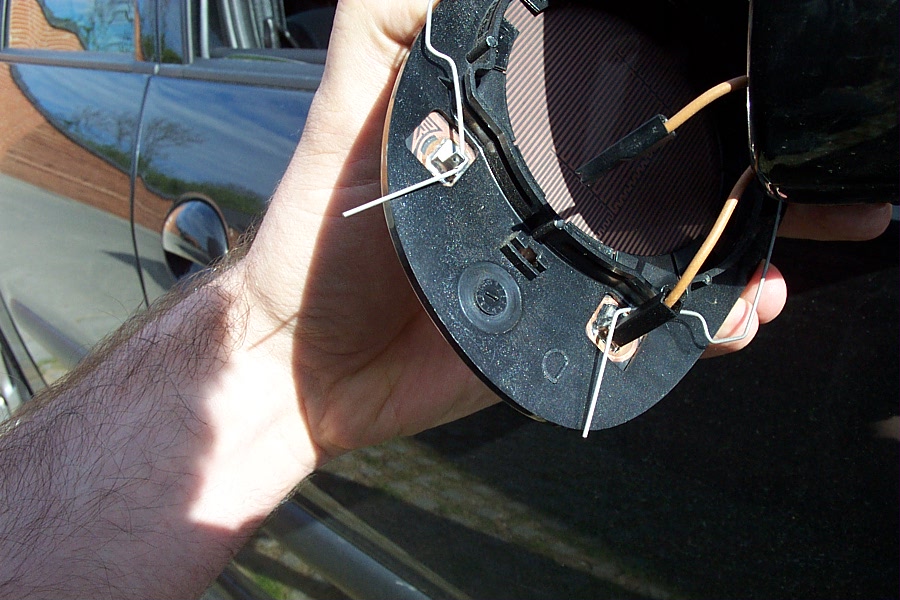
3.
…like so.
Now you can take the mirror
easily out with the “car’s side” first.
Take off the two electrical wires from
the mirror heating. They’re both brown and don’t have to be marked, because
it doesn’t matter how you put them back.
|
|
|
|
|
|
4.
When you
put the mirror back, all you have to do is hook the spring-wires back like
they were in point 2, re-connect the electrical wires from the mirror
heater and push the mirror back in its place.
When it’s a new mirror, you put the spring-wire
from the old one on the new one first.
|
|
|
|
|
Continuing instructions how to take the electrical
mirror adjustment out of the housing, for instance when it’s malfunctioning.
Click
on the images to enlarge.
|
|

|
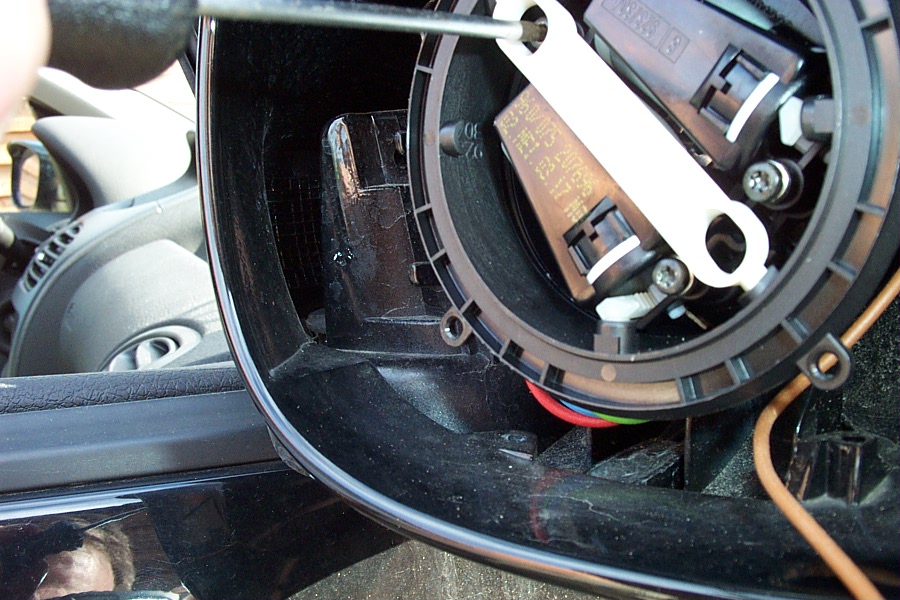
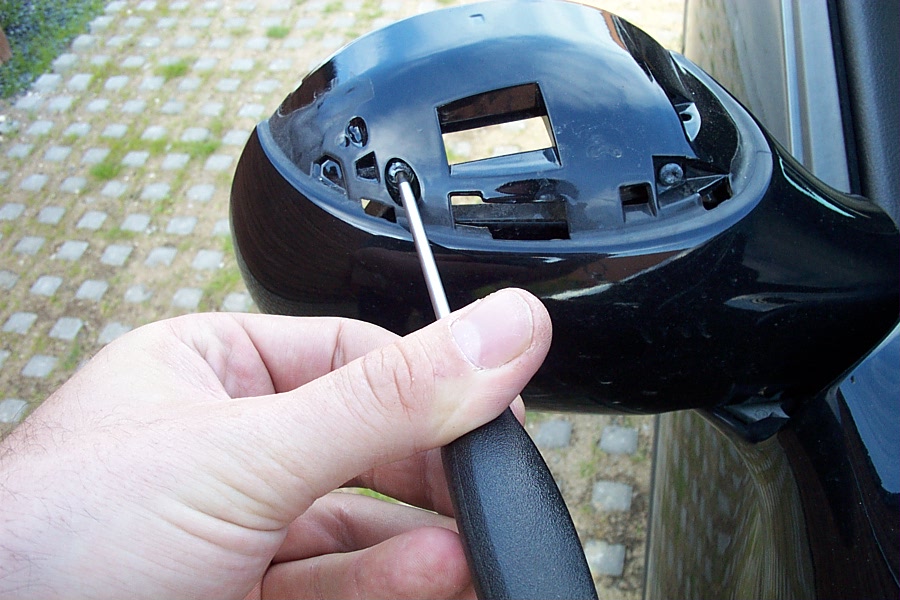
1.
Take out the three Torx10 screws,
fixing the adjustment unit to the housing.
One is
sitting high…
|
|
|
|
|

|
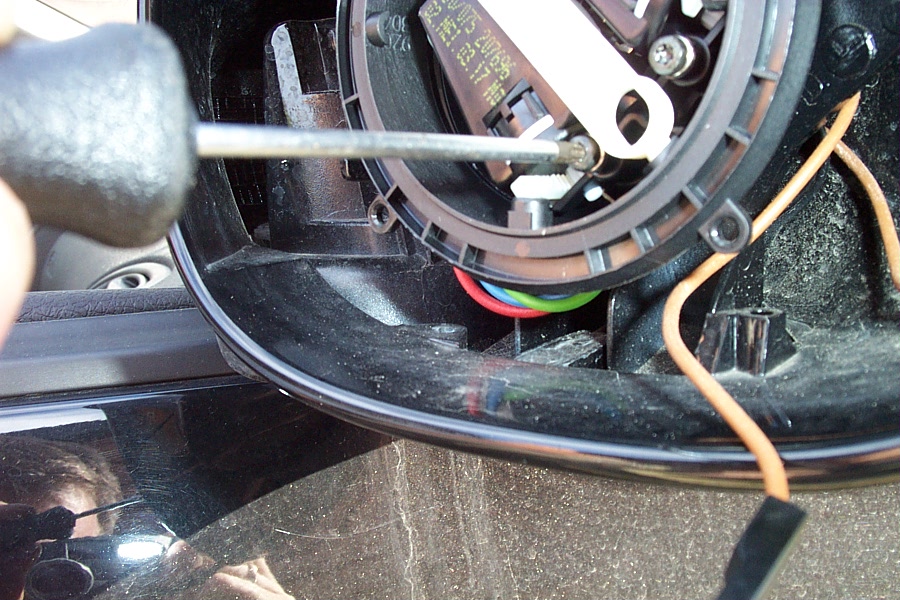
2.
…and there’s
number 2…
|
|
|
|
|

|
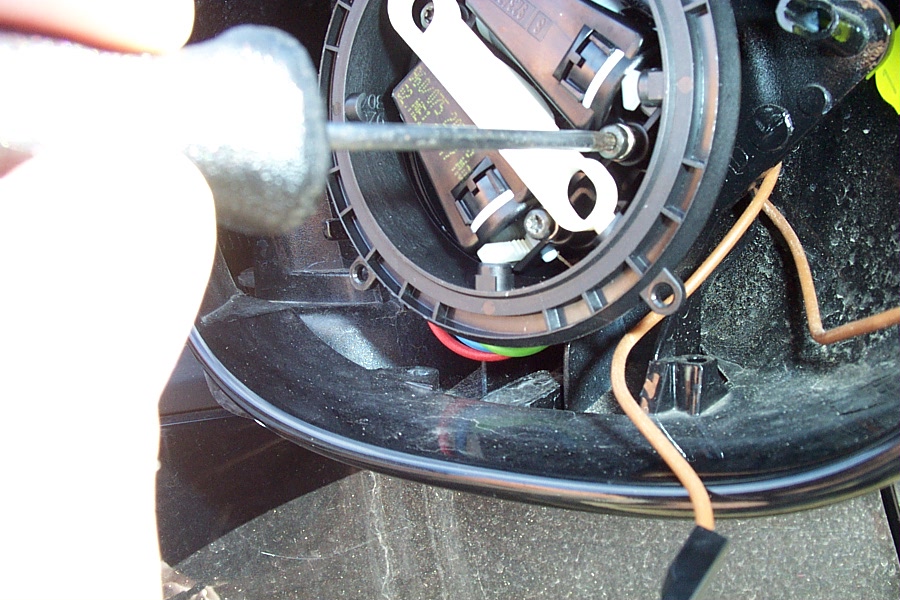
3.
…and
number 3.
|
|
|
|
|

|
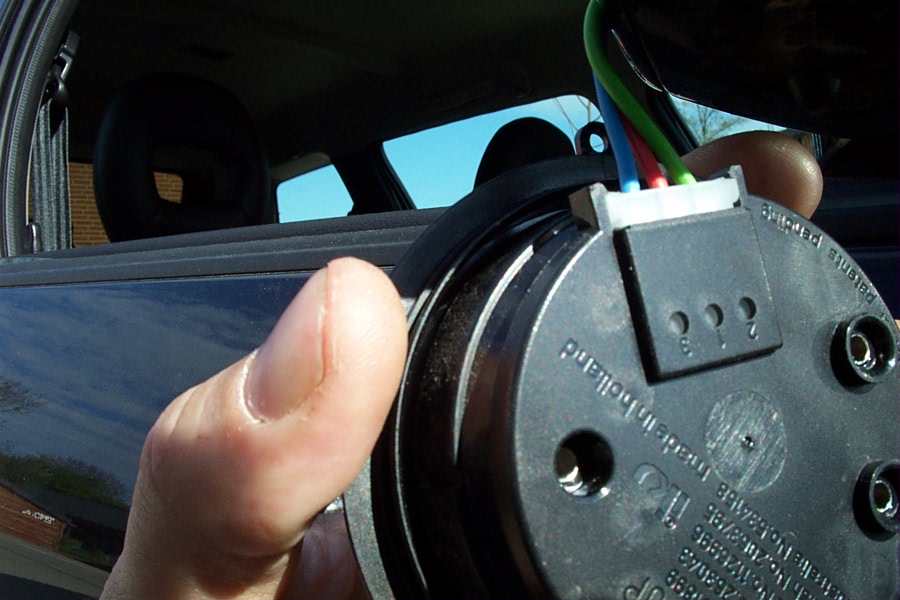
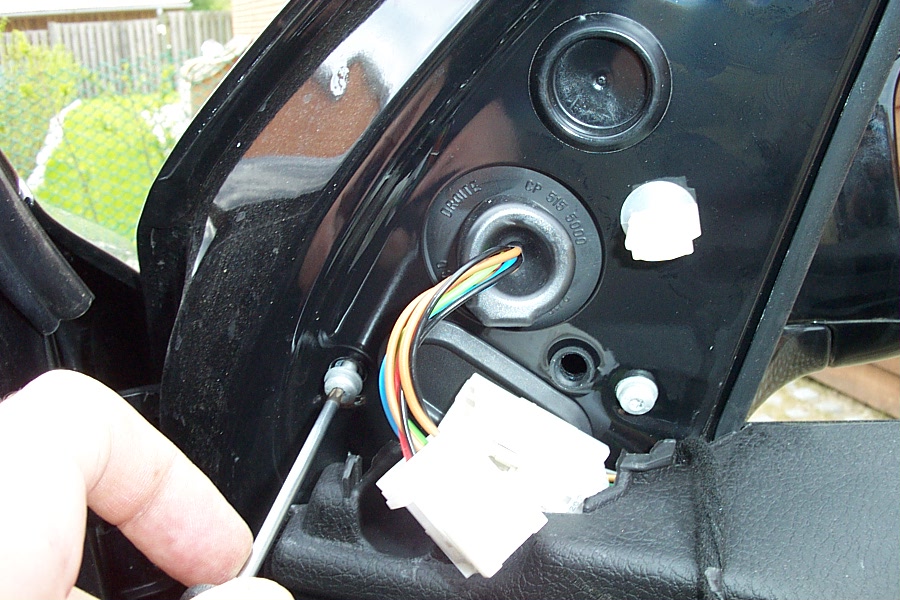
4.
On the
back is the connector, which can be removed by prying a bit with a mini-screwdriver.
|
|
|
|
|
Continuing instructions how to take the shells
from the cast-alloy mirror stay, for instance when they have to be (re-) spayed,
or replaced.
Click
on the images to enlarge.
|
|

|
1.
The top part
of the shell is clipped onto the lower part three places, but this has to
be done carefully: locate where the three clips are positioned in the lower
part and pull them from the inside one at a time a little bit towards
you and release them by pulling the shell a bit upwards. If a clip gets
broken, superglue them together again.
|
|
|
|
|

|
2.
The
remaining shell is connected to the frame with four Torx20 screws.
On the outside top…
|
|
|
|
|

|
3.
…the
inside top…
|
|
|
|
|

|
4.
…and two
on the underside.
|
|
|
|
|

|
5.
Now the
shell can be taken off.
·
If the
outside temperature sensor had to be replaced (situated only on the right
hand side), now is the time to do so, it’s slid into the remaining plastic
shell.
|
|
|
|
|
Continuing instructions how to take the complete
remaining stay off the car, for instance when the plastic cover has to be
(re-) sprayed, or when it has to be replaced, or when refitting an outside
temp sensor (Vital sensor for a proper working A/C!).
Click on the images to enlarge.
|
|

|
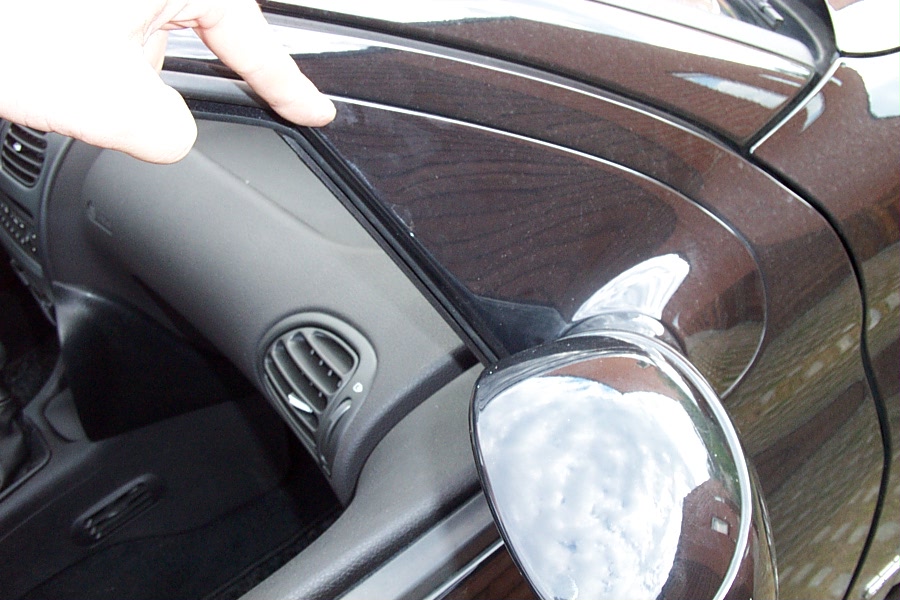
1.
Take the triangle on the inside of
the car off, simply by pulling it off. Be careful not to pull too hard (even
though is sits very tight), considering the tweeter and its cable.
|
|
|
|
|

|
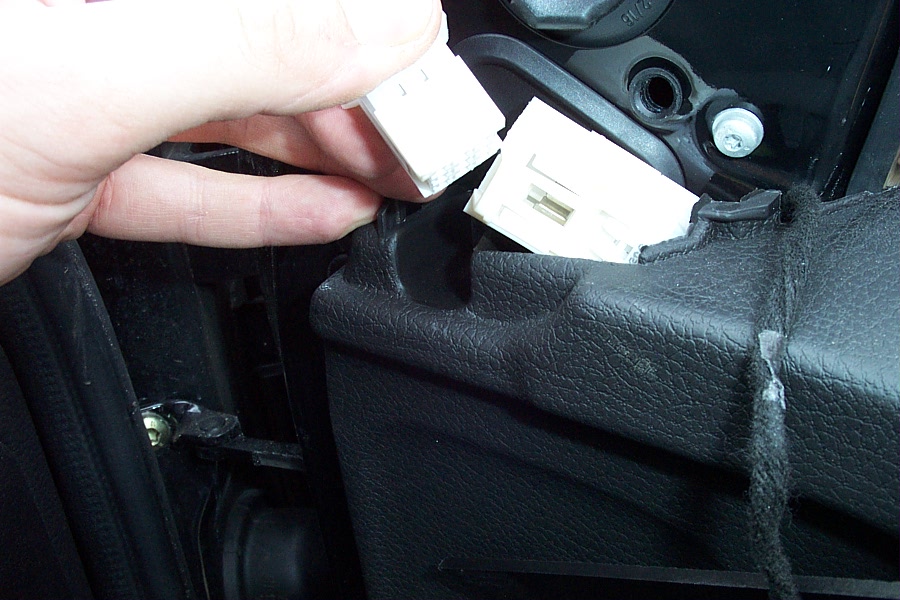
2.
Disconnect
the connector.
|
|
|
|
|

|
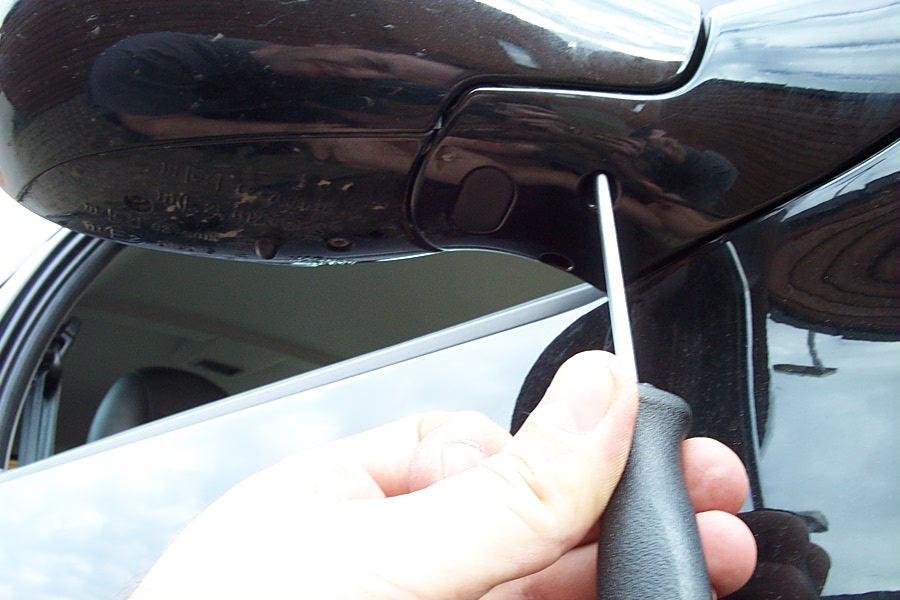
3.
Take out
the three Torx20 screws, which fix the mirror frame to the car.
|
|
|
|
|

|
4.
This is
where I stopped, because the upper corner of plastic cladding on the
outside is fixed to the car with a little plastic clip (like the ones
holding the door trimming, only one size smaller) and that will not
survive. Get one or two from the dealer before taking this off.
|
|
|
|
|

|
5.
To take the
plastic cladding from the alloy frame, take out the two screws of the
underside and the two on the inside of the triangle.
|
|
|
6.
Putting
everything back is simply done in the reversed order.
|


